The Carry-On Vocal Booth 1.0 setup Instructions
SPECIFICATIONS
(including support table, light and brackets)
Weight: 12 lbs
PACKAGE INCLUDES
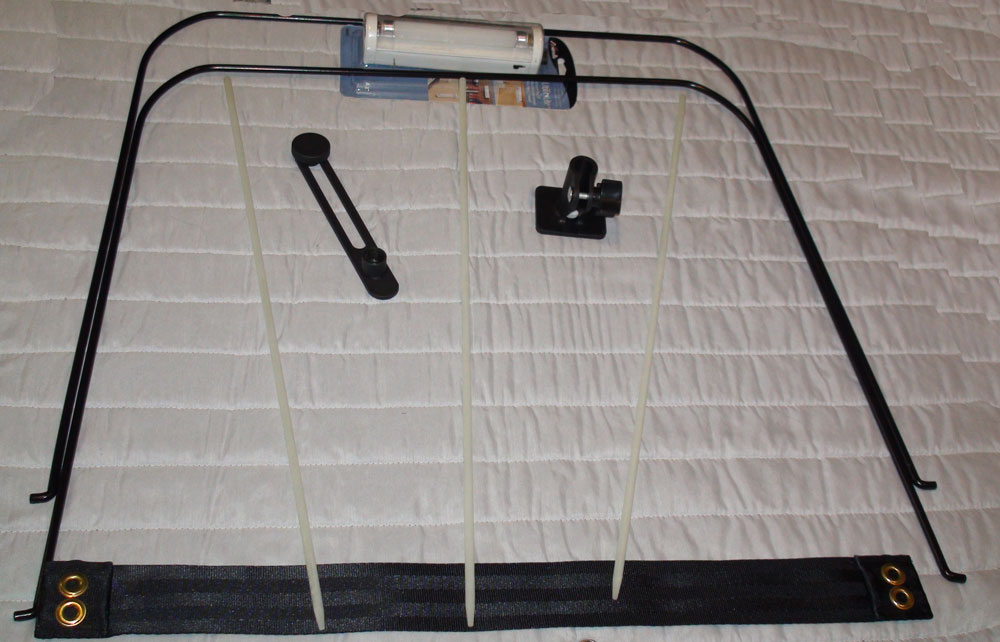
1) Sound absorption booth
2) 2 support arches
3) 3 straight support rods
4) Support arches base strap
5) Outer durable nylon case with support table compartment
6) Support table with bracket
7) Mini boom for microphone mounts
8) 6 inch light (batteries not included)
9) 2 Velcro tie ups
ASSEMBLY AND USE
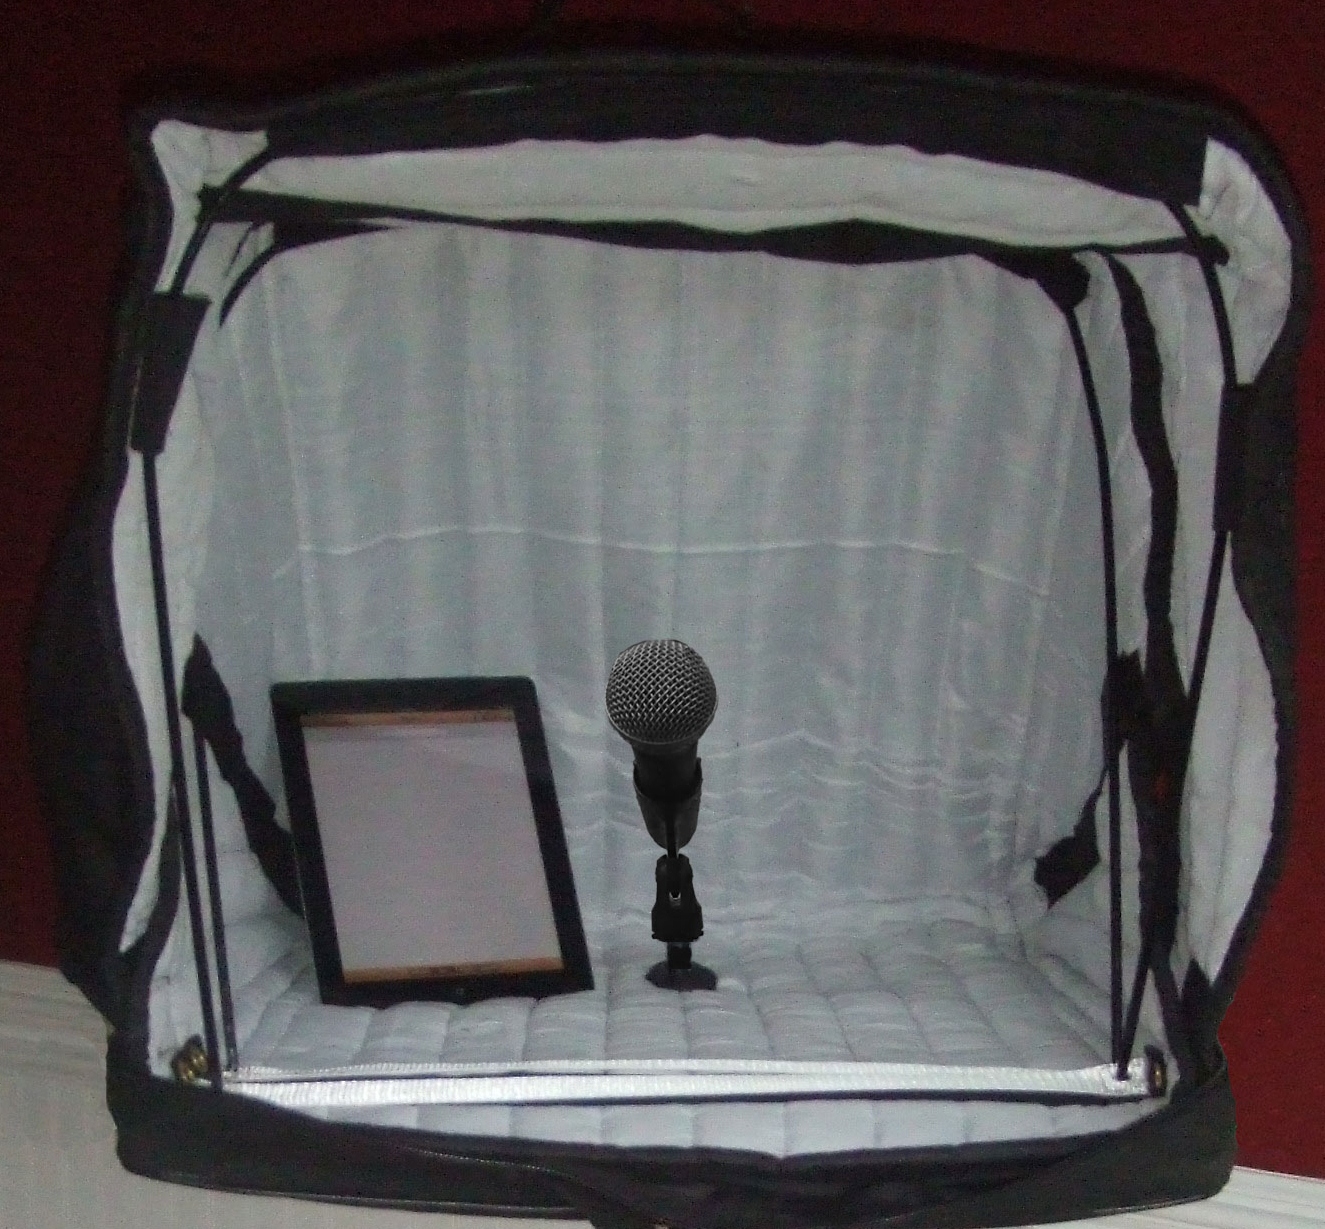
The Carry-On Vocal Booth Pro comes fully assembled and ready to use right out of the box.
SET UP INSTRUCTIONS:
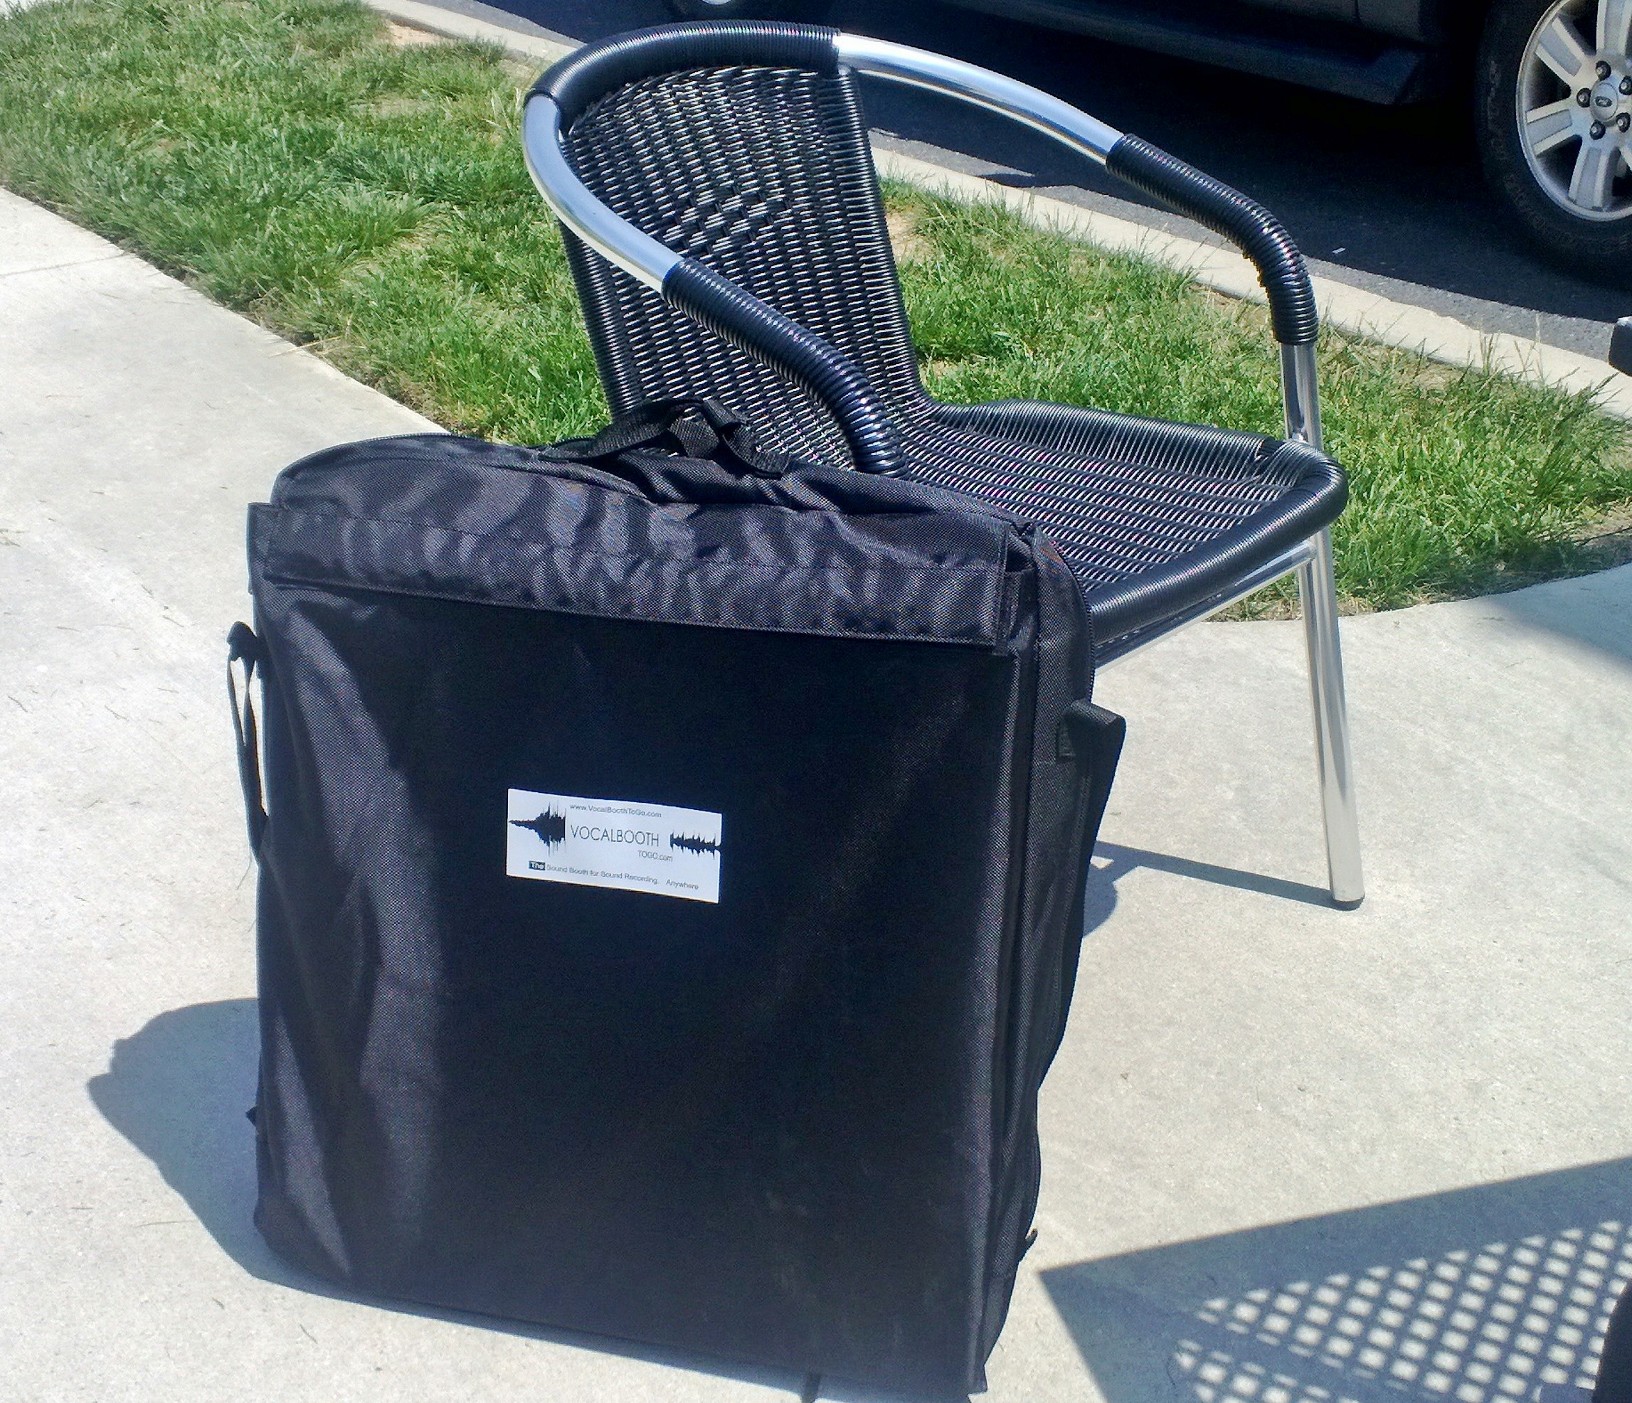
Step 1: Place the pocket side down and with the handles (or the top of the bag) facing you and then unzip the Carry-On Vocal Booth Pro.
Step 2: Reach inside with one hand and pull the base-arch support strap towards you — to the front of the booth. The booth will open up.
Straighten-up the material, and you are ready to work!
Tip: If you are not working on a leveled surface you might want to fix the support arches by side Velcro holds.
FOLD DOWN INSTRUCTIONS:
Step 1: Push the base strap back inside of the Carry-On Vocal Booth Pro. The booth will then collapse.
Step 2: Tuck the material inside as tight as possible and zip the bag close.
You are ready to go!
Tip: We also provided a releasable buckle lock for a quick closing option. If you just have seconds to spare, you can collapse the booth and then use the buckle straps instead of closing with the zipper
USE INSTRUCTIONS:
Carry-on Vocal Booth 1.0 is intended to create an acoustically beneficial environment for audio recording on the go. Specifically to cut out echo and reverberations and dampen the surrounding noise level. It is NOT soundproof.
CoVB can be used in variety of settings, which makes it superior to any other available product out there — you can plant it on desk, car, picnic table – any surface to support its weight. It can be placed on your lap or it can be used hanging off a hook or a tree branch. Anything.
For voice over actors, we provided an option to have the CoVB mounted on a microphone stand. The specially designed support table and the bracket fit standard microphone stand poles.
MICROPHONE-STAND MOUNTING INSTRUCTIONS:
NOTE: To prepare the microphone stand for miounting the boot, first please remove a limiting washer ( a small screw-on washer at the top of the pole)
Step 1: Lay the CoVB 1.0 on a flat surface with the table pocket facing up. Open the flap and make sure you can see the bracket slot at the base of the table.
Step 2: Without taking the table out of the pocket, open the flap in the middle and slide the bracket into the special slot at the bottom of the table. Make sure that the opening of the bracket slot is facing the same direction as the opening in the table slot. The picture on the bottom shows how it should be positioned.
 Step 3: Keep the bracket in the slot and flip the CoVB over the microphone stand pole. Match the pole with the opening and insert the pole into the hole going through the openings in the cover and the inside the booth.
Step 4: Adjust the height and tighten the mounting bracket on the Mic Stand.
Step 5: Open the booth and straighten up the material.
Step 6 . Attach the light and enclosed miniboom to the microphone stand inside the booth.
CARRY-ON VOCAL BOOTH 1.0 USE TIPS:
1: Wires. You can run the external wires through the side openings. Just open the side Velcro seal and run the wires and reseal the Velcro.
2: Light: Attach light to the middle Arch with Velcro tie ups.
3: Miniboom: Use the miniboom to set the microphone to a most comfortable position. Attach miniboom onto the mic stand, then attach microphone mount to the Miniboom. It can be moved left, right , in or out. The way the miniboom is designed – even when it is attached into the mic pole — you can still use that same mic pole to attach a copy holder or another mic.
4: Acoustics: If you wish to let some live or ambient noise into the booth you can fold back the side flaps or fold down the hood or do both.
5: Travelling with CoVB: CoVB is not just an extra piece of luggage!Use CoVB as your travel case to carry your gear — microphones, scripts and even a microphone stand.
CARRY-ON VOCAL BOOTH 1.0 CARE TIPS:
Outer case can be wiped with soft wet cloth. The acoustic booth itself can be removed from the case and washed in a gentle cycle with regular detergent. Tumble dry on hot setting.


