How To Use The Carry-On Vocal Booth . . . Your Studio On The Go!
With the Carry-On Vocal Booth, voice over talents can take control of their time and conduct their sound recordings anywhere and everywhere — even when on travel. This portable vocal booth is also a great starter for beginners, who may not want a full-size vocal booth just yet.
Here is how to use your Carry-On Vocal Booth:
SPECIFICATIONS:
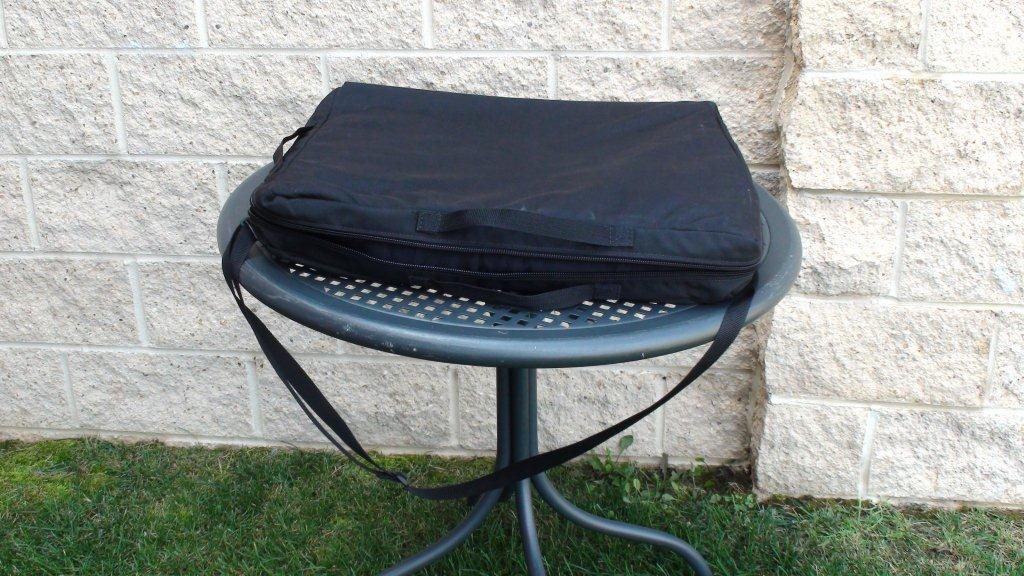
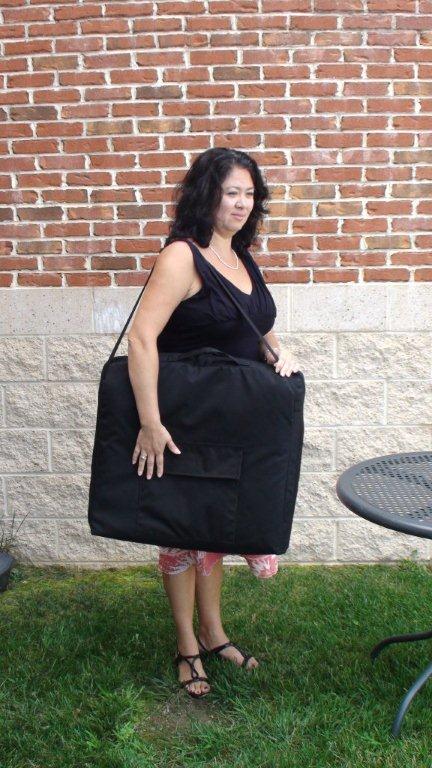
Size: Ass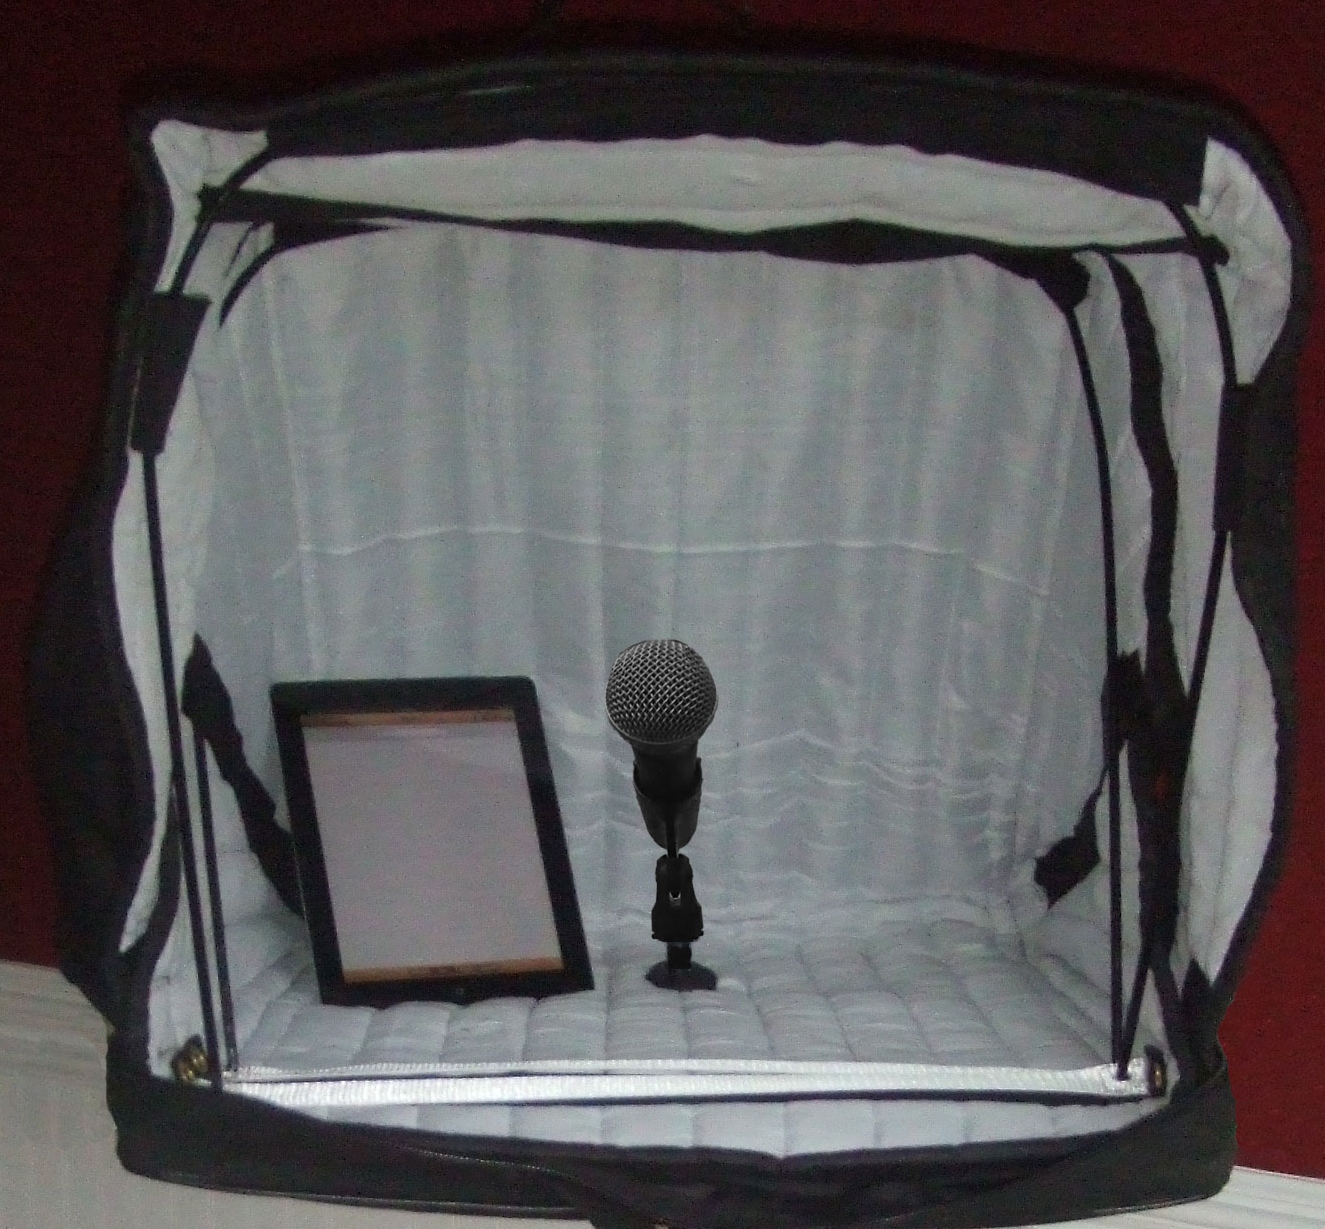 embled: 24W x 22D base and 20 H. Folded in bag: 24 x 22 x 4 inches. Weight: 8 lbs.
Construction of Bag: Outer bag made out of durable abrasion resistant ballistic nylon and includes handles, shoulder strap and a large-side pocket with Velcro tab. A Bag closed with heavy duty zipper. (Note: Hole under the pocket flap is intentional and for the purpose of adding the microphone stand, wires or cords).
Construction of the Interior: Highly absorbent woven acoustic sound blanket — Producer’ss Choice Acoustic Blanket (NRC 0.8 or 80% sound absorption); metal support system and Velcro closures.
To Assemble:
Step 1: Place the Carry-On Vocal Booth on a table or stand with the pocket side down and with the handles (or the top of the bag) facing you.
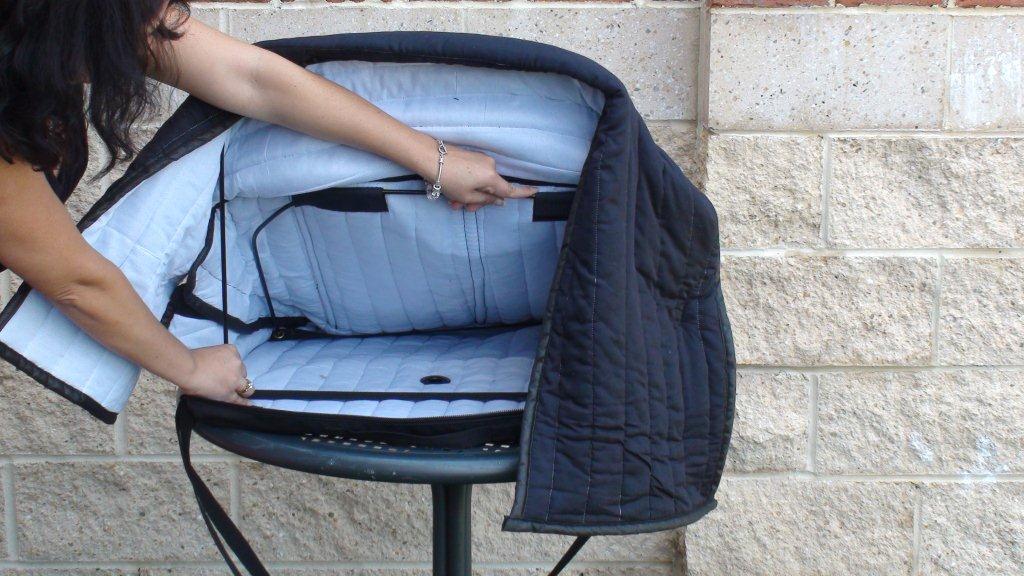
Step 2: Unzip the bag open and lift the top portion of the Carry-On Vocal Booth up as if you were opening a suitcase.
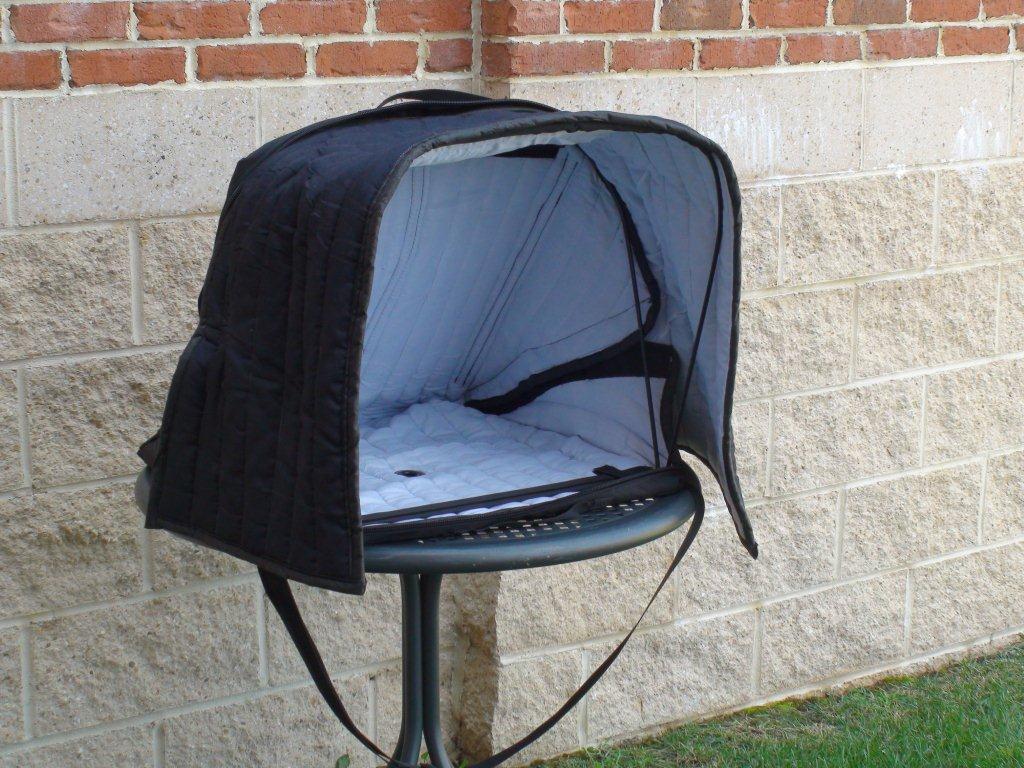
Step 3: While supporting the top of the Carry-On Vocal Booth, reach inside and pull the metal support rods from both back corners towards the front (meeting the adjacent corners) where the Velcro tabs are. (Booth comes with the metal supports attached at the top.) Strap the metal supports into place with the Velcro.
Straighten up the material and you are done!
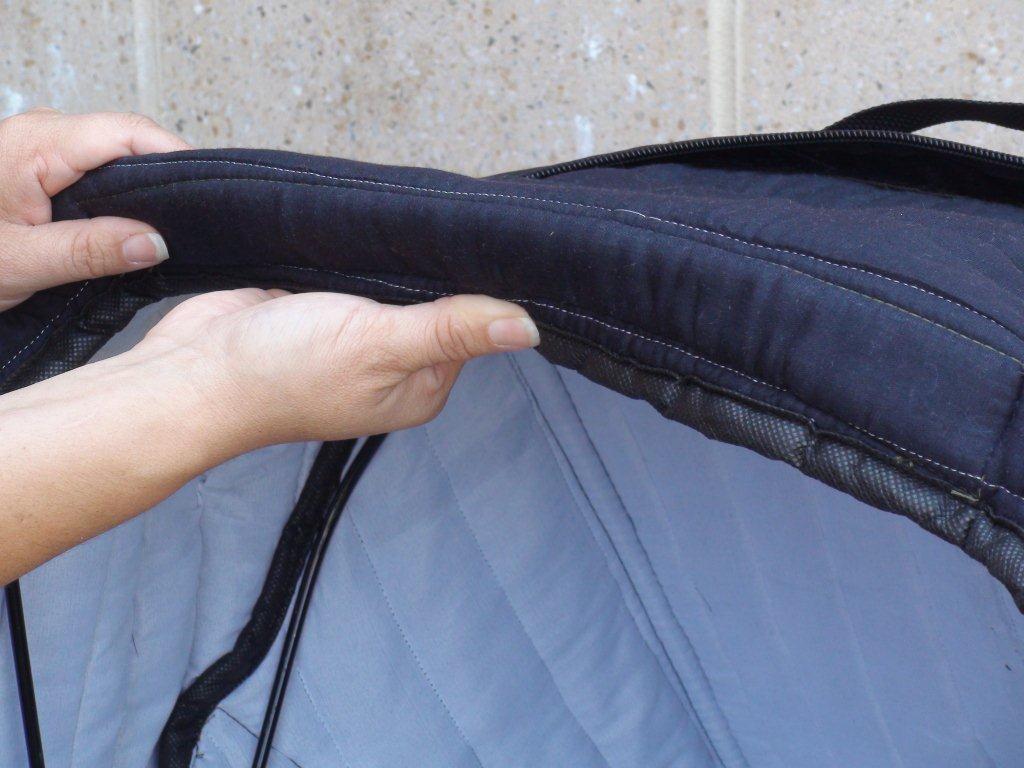
- Tip: To keep the booth from sagging at the top, you can fold the front top edge of the hood under, doubling the fold, this will create a visor and will add some stiffness to the front of the booth.
- Tip: you can run the wires through the opening at the bottom or through the Side Velcro openings…
_______________________________________________
To Collapse or Dissemble for Traveling or Storage:
Step 1: Undo the Velcro straps holding the supports and fold the supports back inside of the Carry-On
Vocal Booth. The booth will collapse.
Step 2: Tuck the material inside as tight as possible and Zip the bag closed.
You are done!
- Tip: Be sure to tuck the side flaps into the center of the collapsed booth.This way the material will be distributed evenly, and it will zip-up nice and easy.
- Tip: You can put other accessories in the bag as well but make sure that there are no sharp objects that may rip the acoustic blanket layer…
_______________________________________________
OTHER HELPFUL TIPS:
- Start and finish with both zippers at the top of the bag — near the handle — and unzip BOTH sides separately for easier assembly and collapsing of the bag.
- Make sure the metal bars inside are not crossing one another for better support when in use.
- The Carry-On Vocal Booth includes Velcro side closures which can be easily opened to insert wires or electronic cords to keep them out of the way during use.
- The hole on the bottom of the Carry-On Vocal Booth is installed for the purpose of attaching a microphone either on a table or a mic stand (available at http://vocalboothtogo.com). If you choose, you can also use the holes to run wires or cords.
- The Carry-On Vocal Booth can be easily wiped with mild soap and water.

